Jeremy Davis
Sitecore, C# and web development
As I slowly get to move from v6.6 era versions of Sitecore onto the more modern releases, one of the topics I've been re-visiting is install automation. In the past I'd looked at PowerShell scripts for installing Sitecore itself, and configuring development sites, but one of the new things to deal with once you move past v7.5 is the need for MongoDB. Turns out, that's pretty easy to automate if you need to:
When you
look at the documentation for Windows installs on the Mongodb.org site, it's clear that they've thought about this scenario. Their installer is packaged as an
MSI, and they document the parameters you can pass to configure it. So to perform a simple unattended install for a development machine, you can run:
msiexec.exe /q /i mongodb-win32-x86_64-2008plus-ssl-3.0.6-signed.msi ADDLOCAL="ALL"
(Though obviously the name of the
MSI
varies depending on the version you want to use)
To make that work in PowerShell, you need to fiddle with the text a little though:
msiexec.exe /q /i mongodb-win32-x86_64-2008plus-ssl-3.0.6-signed.msi "ADDLOCAL=ALL" | Out-Null
Note the change in the way the double quotes are used around the
ADDLOCAL
parameter, and the addition of the pipe to
Out-Null
as a simple way to make sure the rest of the script waits for the
MSI
to finish installing.
That gets all the files onto your machine into the default install directory (under Program Files), but it doesn't start anything going. To do that, you need three more things:
The first of these is trivial. You need a two folders – One for logs and one for data. If your data is going to live in
c:\MongoData
you might use a quick snippet of PowerShell:
$mongoDataFolder = "c:\MongoData"

md "$mongoDataFolder\data"
md "$mongoDataFolder\logs"
Note that depending on where you choose to put the MongoDB data files, and whether you choose to install the service to run under a different user account from the default, you may need to change the disk permissions for your folder. MSDN
documents how to add extra ACLs to a folder using PowerShell. However since I've put the folder in the root of
C:
and am using the default "local system" account for the service, the permissions here are ok by default.
Next is the basic config file – which is also pretty trivial. At its simplest, according to the documentation, all you need is:
systemLog:
    destination: file
    path: c:\MongoData\log\mongod.log
storage:
    dbPath: c:\MongoData\data
Interestingly, MongoDB's default settings create quite large disk files for your databases – the journal file defaults to 1GB of disk space for each database. This can be a lot of space to use up on a development machine, so there is an option called
SmallFiles
which can be enabled if you want to reduce this size down to 128MB for each journal. Adding it to the example config above would give:
systemLog:
    destination: file
    path: c:\MongoData\log\mongod.log
storage:
    dbPath: c:\MongoData\data
    mmapv1:
        smallFiles: true
At this point, I don't know enough about how MongoDB works to understand whether this setting is a good idea for us Sitecore developers though.
You can write out the basic config to disk using the path variable above with:
$cfg = @"
systemLog:
    destination: file
    path: $mongoDataFolder\logs\mongod.log
storage:
    dbPath: $mongoDataFolder\data
"@

$cfg | Out-File "$mongoDataFolder\mongod.cfg"
The
@"..."@
is PowerShell's way of expressing a multi-line string. The closing "tag" here must be on a new line. If not, it will not work.
Then, according to the documentation, you can tell MongoDB to configure itself as a service:
"C:\Program Files\MongoDB\v3.0\bin\mongod.exe" --config "C:\MongoData\mongod.cfg" --install
Again, we can edit this a bit to make it more PowerShell-friendly:
&"$Env:ProgramFiles\MongoDB\Server\3.0\bin\mongod.exe" --config "$mongoDataFolder\mongod.cfg" --install | Out-Null
The ampersand says "treat the following string as if it was a command to execute". The
$Env:ProgramFiles
variable makes sure we get the right folder for the 64bit Program Files directory, and we make use of the variable from before to locate the config file.
Note that this will create the service, but won't set it to start automatically. You can change the start settings and ensure it's started up via:
Set-Service -Name MongoDB -StartupType Automatic
Start-Service -Name MongoDB
So, to pull it all together:
Write-Host "Installing MongoDB..."
msiexec.exe /q /i mongodb-win32-x86_64-2008plus-ssl-3.0.6-signed.msi "ADDLOCAL=ALL" | Out-Null

Write-Host "Create data folder"
$mongoDataFolder = "c:\MongoData"
md "$mongoDataFolder\data"
md "$mongoDataFolder\logs"

Write-Host "Create config file"
$cfg = @"
systemLog:
    destination: file
    path: $mongoDataFolder\logs\mongod.log
storage:
    dbPath: $mongoDataFolder\data
"@
$cfg | Out-File "$mongoDataFolder\mongod.cfg"

Write-Host "Install Service"
&"$Env:ProgramFiles\MongoDB\Server\3.0\bin\mongod.exe" --config "$mongoDataFolder\mongod.cfg" --install | Out-Null

Write-Host "Configure Service"
Set-Service -Name MongoDB -StartupType Automatic
Start-Service -Name MongoDB
NB: Remember that this install is suitable only for development use inside your firewall. It has not enabled any of MongoDB's security features, so exposing it to the internet would be a bad move.
So, once you've run this script, how do you test that it's all working? Well RoboMongo is a useful tool for investigating what's going on inside the MongoDB server. Their default installer is less automation-friendly – but they do provide the application in a zip file. You can download that to the folder with your script, and use a bit more PowerShell to unzip it:
Add-Type -AssemblyName System.IO.Compression.FileSystem
[System.IO.Compression.ZipFile]::ExtractToDirectory("$Pwd\Robomongo-0.8.5-i386.zip", "$Env:ProgramFiles\")
That uses the .Net Framework's built in ability with archives to extract the files.
You can just run the program from there, but it's easier to add an icon to your desktop (or some other location). You can achieve that via PowerShell too:
$WshShell = New-Object -comObject WScript.Shell
$Shortcut = $WshShell.CreateShortcut("$Env:UserProfile\Desktop\Robomongo.lnk")
$Shortcut.TargetPath = "$Env:ProgramFiles\Robomongo-0.8.5-i386\Robomongo.exe"
$Shortcut.Save()
This uses the COM objects that wrap up the Windows Shell to create a new shortcut on the current user's desktop, and point it at the program we've unzipped.
And with that, you can run it up and do some work:
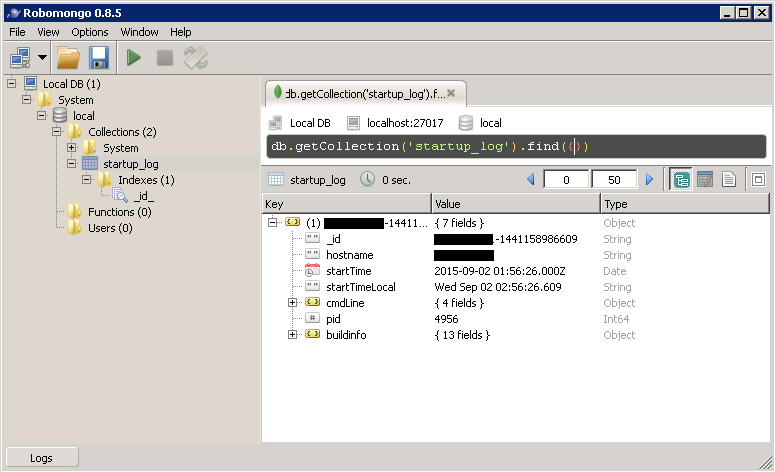
Or at least look at all this stuff in MongoDB and wonder what it's all for...
↑ Back to top