
Jeremy Davis
Sitecore, C# and web development
I've got a project on the cards where I need to connect both Sitecore and a third-party image capture system to Content Hub. While I've done the official admin & developer training for Content Hub, I thought it would be worth a quick proof-of-concept so that I could verify the plan I had would actually work – and it turned out that there was an interesting issue hiding under this...
 url copied!
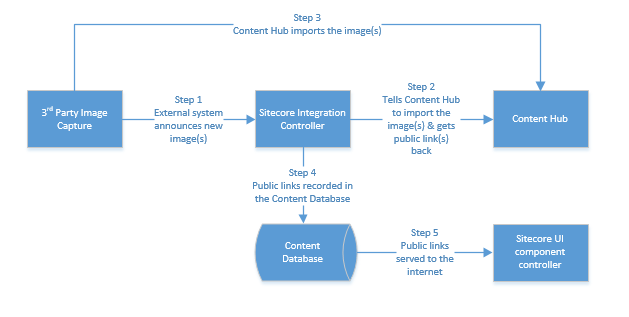
There's a 3rd-party system that captures images. Once that process completes it will make an HTTPS request to some other system to announce the new data. In my case that's going to be an integration-focused controller in Sitecore. This controller's job will be to set up the right data in Content Hub – so it's going to make some API calls to that system to upload the new image, fill in whatever relevant metadata is needed and then create some Public Links for renditions. Those links will then get stored in the Sitecore content database, so that they can be served as part of some UI components that are being produced.
(I'm not putting the integration controller code inside Content Hub using Scripts for firewall reasons. Content Hub can't issue calls to Sitecore for security reasons – and I can't change that)
Doesn't sound too complicated. But I wanted to check how the "upload an image, generate some renditions, and get public links for them" worked. So I fired up a quick .Net Console App to mock this up. I think the test requires a few things:
url copied!
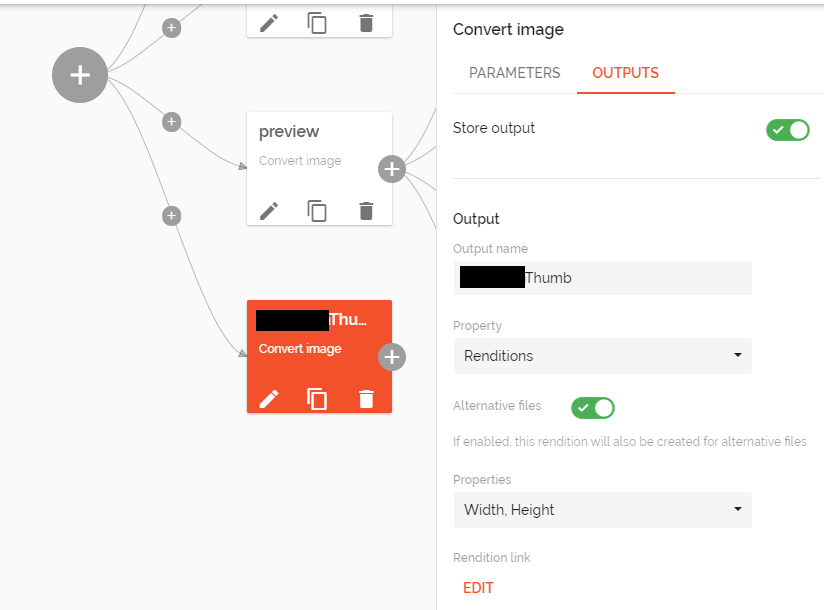
I set up a "website thumbnail" rendition for my test. You need to make sure the redition is "stored", with a sensible name:
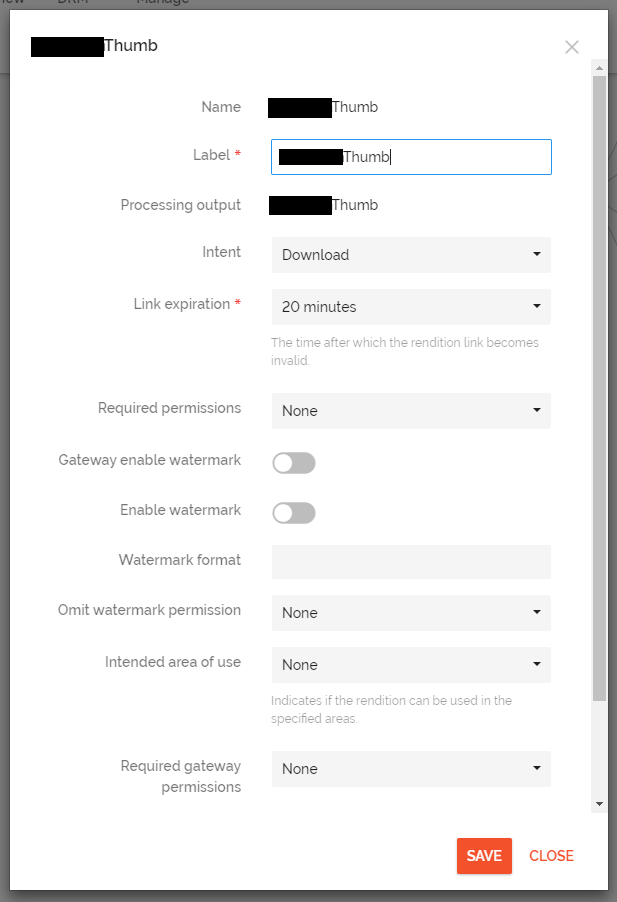
And you need to give it a Rendition Link:
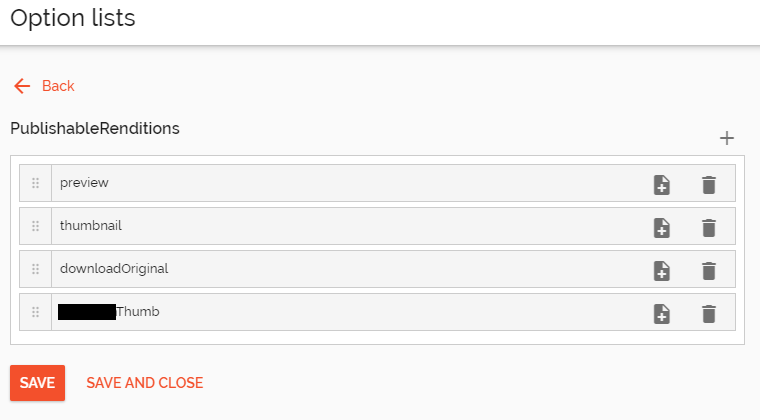
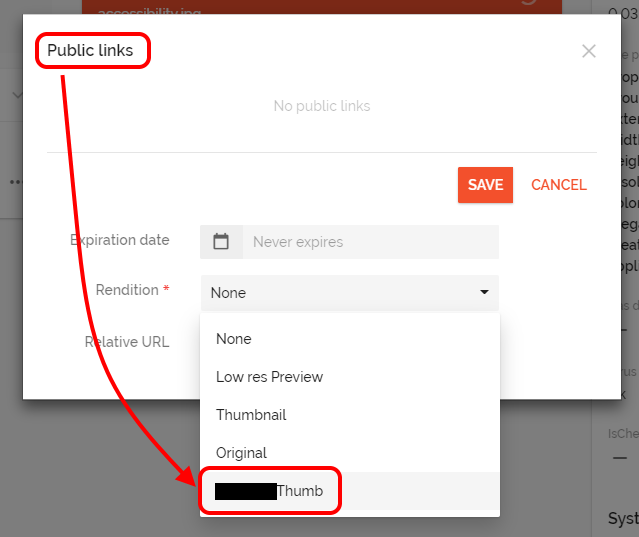
Once that's done, uploading a new image will generate this rendition. If you want it to be available in the UI for "make a public link for this rendition" there's one more thing to do though. You need to go to the "Option Lists" management page, and select the "PublishableRenditions" list. Add the name(s) of your new rendition(s) here:
And then you'll be able to manually set up links for a new image:
So that's ready to try some automation...
url copied!
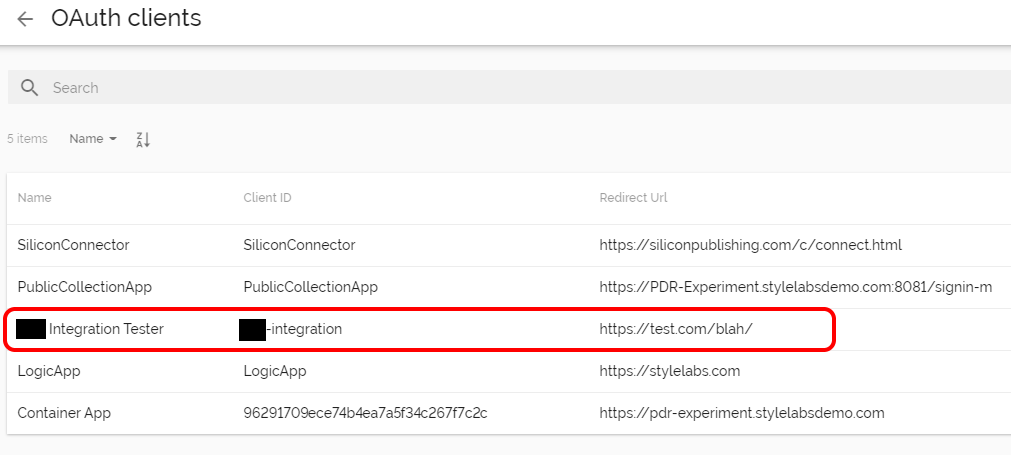
Note that for this scenario, you don't need the "Redirect Url" property – that can be set to anything. Make a note of the Client ID and the Client Secret for the client you set up. And then secondly you need a user to log in as:
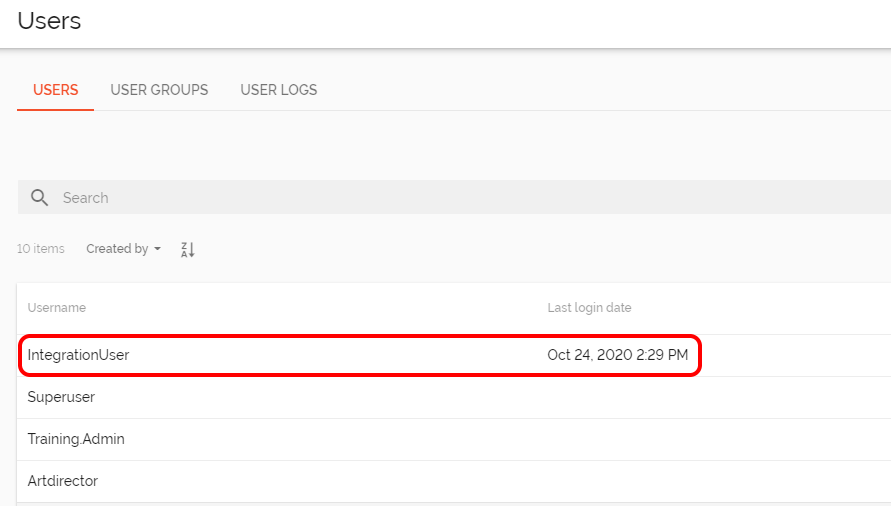
This user needs to have a password set, so the API can use it.
With those in place, authenticating a new client connection can be done as follows:
public IWebMClient Connect(Uri endpoint)
{
    var oauth = new OAuthPasswordGrant
    {
        ClientId = "your-client-id",
        ClientSecret = "your-client-secret",
        UserName = "your-integration-user",
        Password = "your-user-password"
    };

    return MClientFactory.CreateMClient(endpoint, oauth);
}
The endpoint here is the base url for your instance of Content Hub, something like
https://your-instance.stylelabsdemo.com
but it will vary depending on how your instance is set up.
Then you need to create the new Asset. There are a few steps to that
public async Task<long> ImportAsset(IWebMClient client, Uri imageUrl, string clientsCustomId)
{
    // First, create an asset record
    var asset = await client.EntityFactory.CreateAsync(Constants.Asset.DefinitionName, CultureLoadOption.Default);

    // Specify that it should go in the "standard" content repo - which is the DAM
    var contentRepo = await client.Entities.GetAsync("M.Content.Repository.Standard");
    var contentRepoRelation = asset.GetRelation<IChildToManyParentsRelation>("ContentRepositoryToAsset");
    contentRepoRelation.Parents.Add(contentRepo.Id.Value);

    // Set its lifecycle status - I'm going for "Approved" here because the approval process will happen in the 3rd-party system for my process
    var finalLifeCycle = await client.Entities.GetAsync("M.Final.LifeCycle.Status.Approved");
    var finalLifeCycleRelation = asset.GetRelation<IChildToOneParentRelation>("FinalLifeCycleStatusToAsset");
    finalLifeCycleRelation.Parent = finalLifeCycle.Id.Value;

    // Then set the standard & custom properties required
    asset.SetPropertyValue("Title", $"Image for ID {clientsCustomId}");
    asset.SetPropertyValue("Custom ID", clientsCustomId);

    // Save the asset to the database
    var assetId = await client.Entities.SaveAsync(asset);

    Console.WriteLine($"Created new Asset {assetId}");

    var fetchJob = new WebFetchJobRequest("File", assetId);
    fetchJob.Urls.Add(imageUrl);

    // Then start a fetch job to grab the image data
    long fetchJobId = await client.Jobs.CreateFetchJobAsync(fetchJob);

    Console.WriteLine($"Fetch job triggered {fetchJobId}");

    return assetId;
}
That will cause Content Hub to download the image, set up the Asset record and generate the correct renditions. So then the code needs to generate the Public Link the integration system needs to store in Sitecore.
Generating the public link can be done as shown:
public async Task<long> CreatePublicLink(IWebMClient client, long assetId, string renditionName)
{
    // Create new Public Link record
    var publicLink = await client.EntityFactory.CreateAsync(Constants.PublicLink.DefinitionName);

    // Tell it which rendition it needs to link to
    publicLink.SetPropertyValue("Resource", renditionName);

    // Connect the link record to the appropriate Asset record
    var assetTopublicLinkRelation = publicLink.GetRelation("AssetToPublicLink", RelationRole.Child);
    assetTopublicLinkRelation.SetIds(new long[] { assetId });

    // Save the new Public Link
    long publicLinkId = await client.Entities.SaveAsync(publicLink);

    Console.WriteLine($"Public link created: {publicLinkId}");

    return publicLinkId;
}
When you look at the schema of a "Public Link" entity in the system, it doesn't have a URL property though. So how do you know what the address to request for the link is? Well a bit of googling lead me to an answer for this: You work out the address based on the instance's base url, the "RelativeUrl" property and the "VersionHash" property:
public async Task<string> FetchPublicLink(IWebMClient client, string baseUrl, long publicLinkId)
{
    Console.Write($"Fetching public link {publicLinkId}");

    IEntity result = await client.Entities.GetAsync(publicLinkId, EntityLoadConfiguration.Full);

    var relativeUrl = await result.GetPropertyValueAsync<string>("RelativeUrl");
    var versionHash = await result.GetPropertyValueAsync<string>("VersionHash");

    return $"{baseUrl}/api/public/content/{relativeUrl}?v={versionHash}";
}
So you can assemble this code together, and it will set up an image for you:
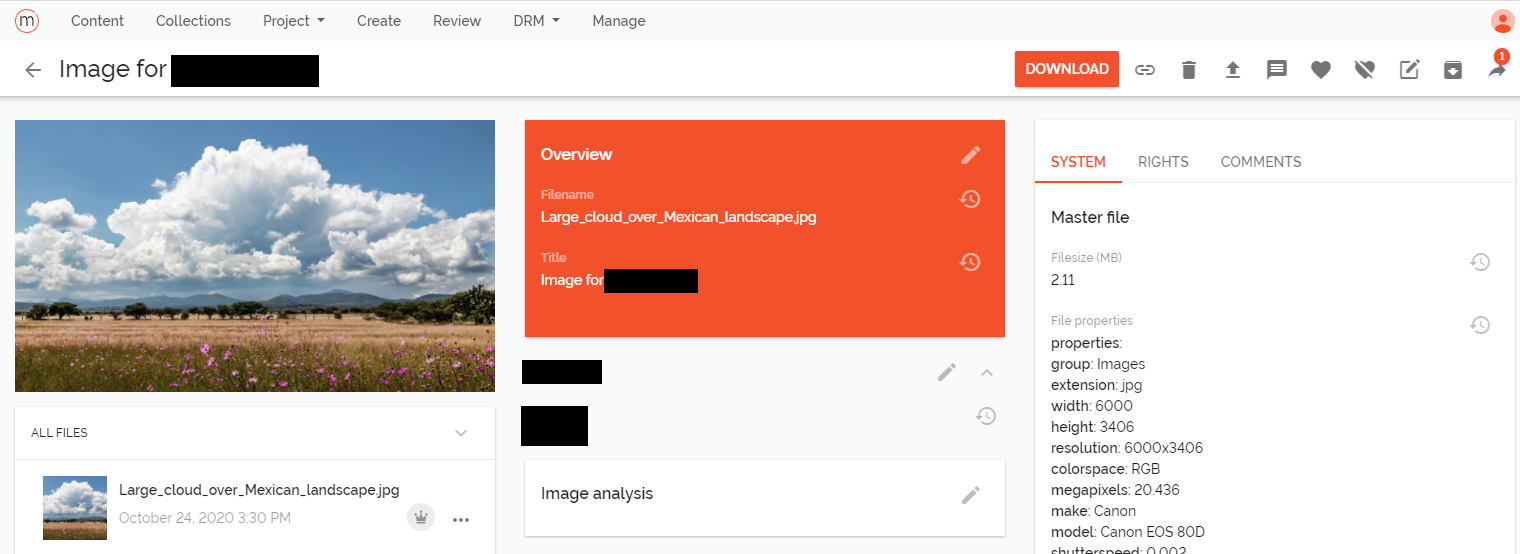
You can see from the little "1" badge superimposed over the Public Link icon in the top right that a link has been created. But when you click that, all is not well:
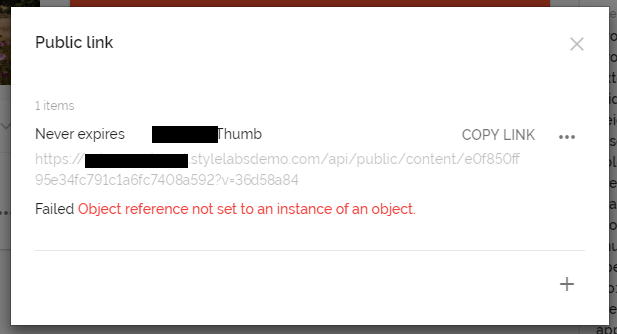
For Google's benefit the error here is "Object reference not set to an instance of an object".
In a couple of scenarios I tried, I got a subtly different error, which you might see:
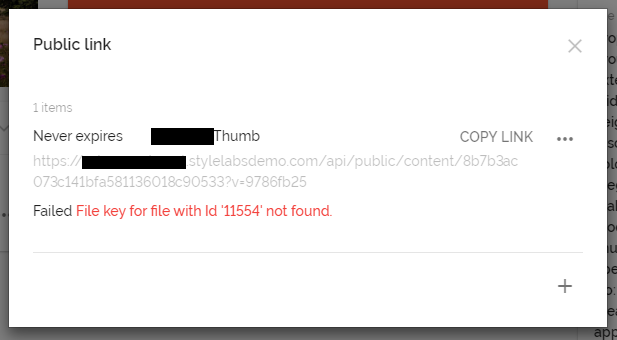
The error message here is "Failed File key for file with id ‘11554' not found."
What's going on there?
url copied!
So how can we fix this? Waiting!
After you create the asset, you have to wait for the fetch job to complete. And after you create the Public Link you have to wait for it before you try to generate the URL. The waiting can be done with a fairly simple code pattern:
public async Task WaitForRendition(IWebMClient client, long assetId, string renditionName)
{
    bool done = false;

    Console.Write($"Waiting for rendition {renditionName} for asset {assetId}");

    while (!done)
    {
        System.Threading.Thread.Sleep(1000);

        Console.Write(".");

        var asset = await client.Entities.GetAsync(assetId, EntityLoadConfiguration.Full);
        var rendition = asset.GetRendition(renditionName);

        done = rendition != null;
    }

    Console.WriteLine();
    Console.WriteLine("Complete.");
}
In this case it's waiting for the rendition to exist – but the same pattern works for other entities like the fetch job and the public link. It's a loop that waits for a bit, tries to fetch the thing, and decides if it got valid data. If not, it repeats that cycle until it is true. (I'm pretty sure this isn't the right way to wait here – there will be a better way to do this)
So if you add a wait for the fetch job, a wait for the rendition, and a wait for the existence of the public link then everything starts to work:
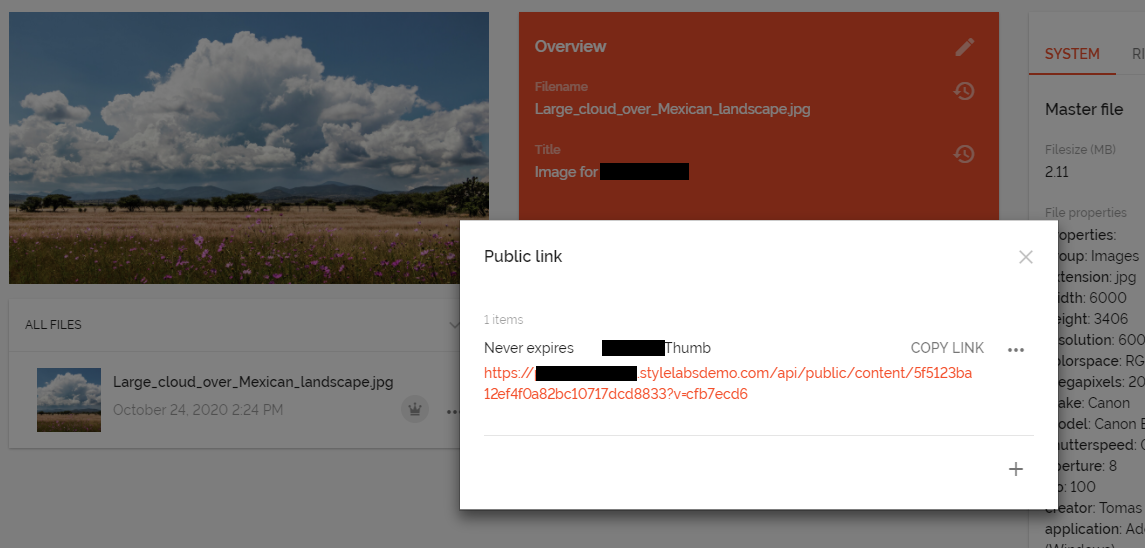
And opening an incognito browser, the public link can be viewed successfully:
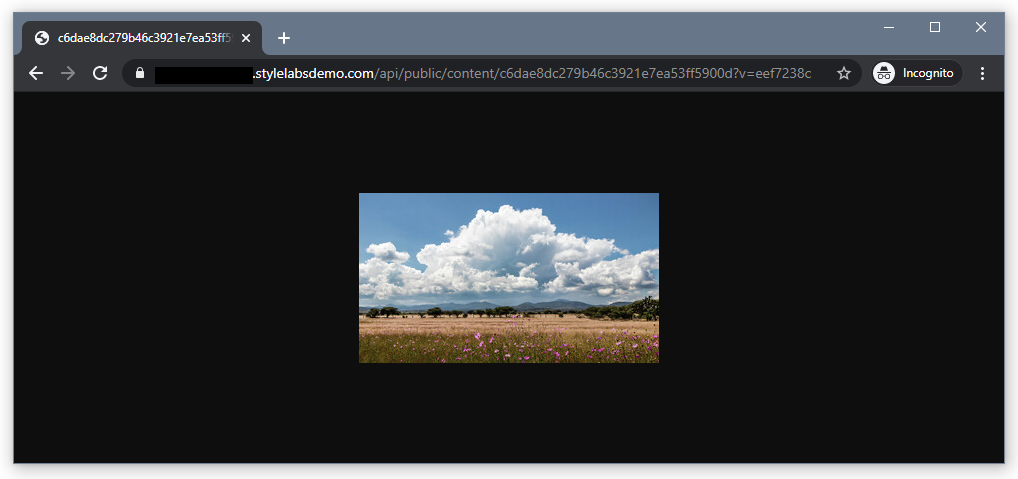
But what you have to pay attention to now is that it'll probably take about 90s to fetch you a public link via this process – so you need to make sure that however you run this code it's safe for a long-running operation like that. You probably don't want to do that directly in an IIS Web Request. I'm thinking I'm going to end up using Sitecore Jobs for these tasks...
↑ Back to top
