
Jeremy Davis
Sitecore, C# and web development
One of the recurring themes of deploying Sitecore over the last few years has been "how do I deal with Solr?". It's a question with many valid answers... I've been doing some research for a client recently, because they wanted to run their own SolrCloud instances in Kubernetes - and I came across the Apache Foundation's "Solr Operator" project. It's an interesting shortcut to efficient containerised deployments of Solr, and it might help you too...
 url copied!
If you have decided you want to run your SolrCloud for Sitecore in container infrastructure that you host, then Solr Operator could be the helper project you've been looking for. It's a pre-packaged Kubernetes setup tool that lets you quickly and easily provision new instances of SolrCloud. And while it provisions them it can configure in helpful ways too, with built in support for authentication settings, scaling, SSL, Ingress Controller config and backups.
It's provided as a set of Kubernetes config files and Helm Charts, which you can apply to your existing Kubernetes instances (and it doesn't care about where they're run) to set up as many Solr instances as you need.
What is a "Helm Chart"? Well it's a pre-packaged set of Kubernetes config files, which are templated. Think of Helm as a bit like a package manager for Kubernetes. You say "fetch the package called <something>" and it downloads an archive containing a set of templated config files. When you say "install the package called <something>" you're passing in a set of variables, and it's injecting them into the templates to generate the real config files for your deployment. Under the surface (for Operator at least) what that means is you're downloading all the Kubernetes
YAML
files to set up Solr, but they've been templated using
Mustache. So when Helm runs, it replaces all of the
{{variable}}
entries in these files to generate the final YAML files which will install Solr using your preferred features, names and settings...
So once you've installed Operator, it can sit in your Kubernetes cluster and manage backups etc for you. And whenever you need to provision another instance of SolrCloud (say you're running multiple client projects in parallel perhaps) then you run a simple command, and it sorts out all of the config to add the new containers to your setup.
And it's massively simpler than trying to do this yourself...
url copied!
I decided to try this out on my laptop. I don't have Kubernetes installed, but it turns out that's a feature of Docker Desktop, so running an instance of this locally is pretty simple. The steps are as follows:
url copied!
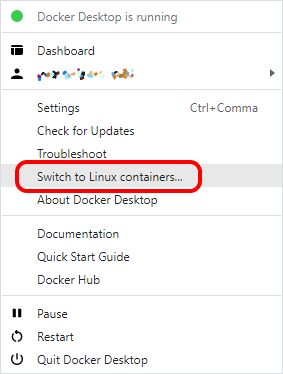
If you're like me, and have been running Sitecore using Docker Desktop, then you probably have it set up in Windows Containers mode. So switch it back to Linux Containers by right-clicking the Whale icon in your system tray:
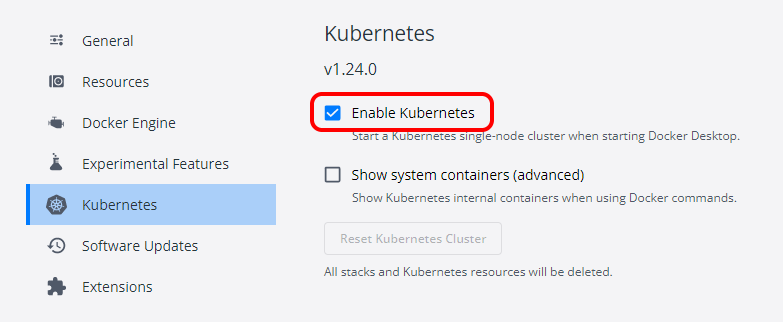
Once that restarts, you'll need to enable the Kubernetes features, because they're not on by default. So click the settings "cog" icon in the top blue bar of the Docker Desktop window, and turn it on from the config window:
Once you've ticked that, you'll need to click "Apply & Restart". It may warn you it needs to do some downloading and that you'll need to have your internet connection working:
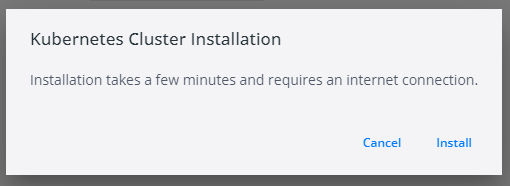
Once you click "install" it will think for a bit, before restarting with a new engine icon in the bottom of the Docker Desktop window:
![]()
url copied!
If you don't have it installed already, then you can download the Helm for Windows executable and unzip it into a suitable working directory. You can keep it in the current directory for experiments, or stick it somewhere central and add it to the path if you're going to use it for other tasks too.
url copied!
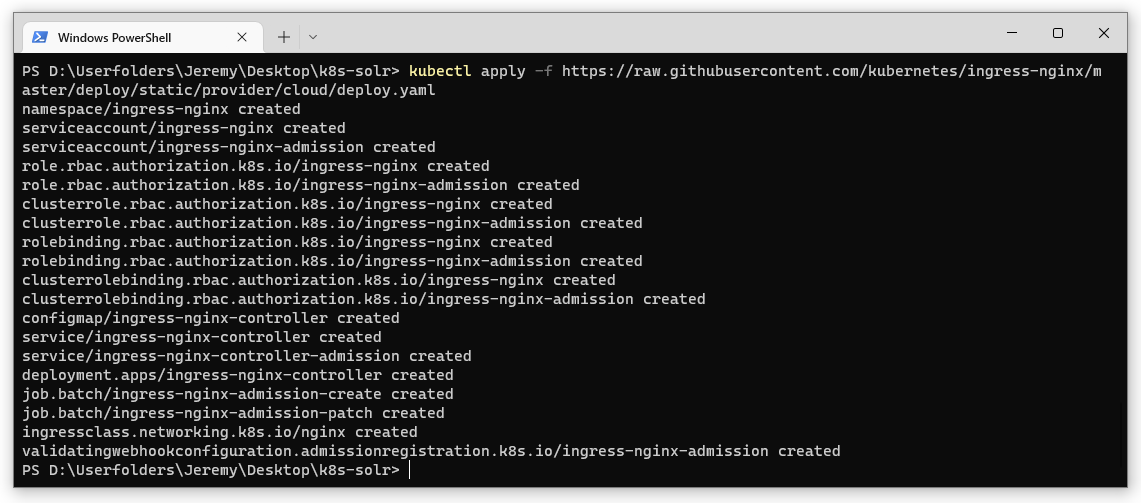
You'll need an ingress controller. The default setup for that is simple:
kubectl apply -f https://raw.githubusercontent.com/kubernetes/ingress-nginx/master/deploy/static/provider/cloud/deploy.yaml`
And that will quickly set up all the relevant resources for Nginx:
In the real world you'll need some DNS entries provided for the resources you're creating - but for a quick local demo it's easiest to add host file entries. There are a few here, because your Solr cluster needs to have names for the overall cluster, plus each of the individual Solr instances in the cluster:
127.0.0.1 default-example-solrcloud.ing.local.domain ing.local.domain default-example-solrcloud-0.ing.local.domain default-example-solrcloud-1.ing.local.domain default-example-solrcloud-2.ing.local.domain dinghy-ping.localhost
And then you can get the Helm charts required for the setup, and make sure they're up to date:
helm repo add apache-solr https://solr.apache.org/charts
helm repo update
The last step here is to install Operator itself. That requires two things. The first is some Custom Resource Definitions (CRDs) for Kubernetes, which can be installed via
kubectl
and then the second is to use Helm to install the Operators:
kubectl create -f https://solr.apache.org/operator/downloads/crds/v0.5.1/all-with-dependencies.yaml
helm install solr-operator apache-solr/solr-operator --version 0.5.1
The CRDs define common settings for things like Operator, SolrCloud, the extensions provided and backups. CRDs pull these together into custom resources in Kubernetes - which makes it easier for you to manage. They describe the config schema for these things to Kubernetes, so that when Operator creates instances of them, the correct data gets set up.
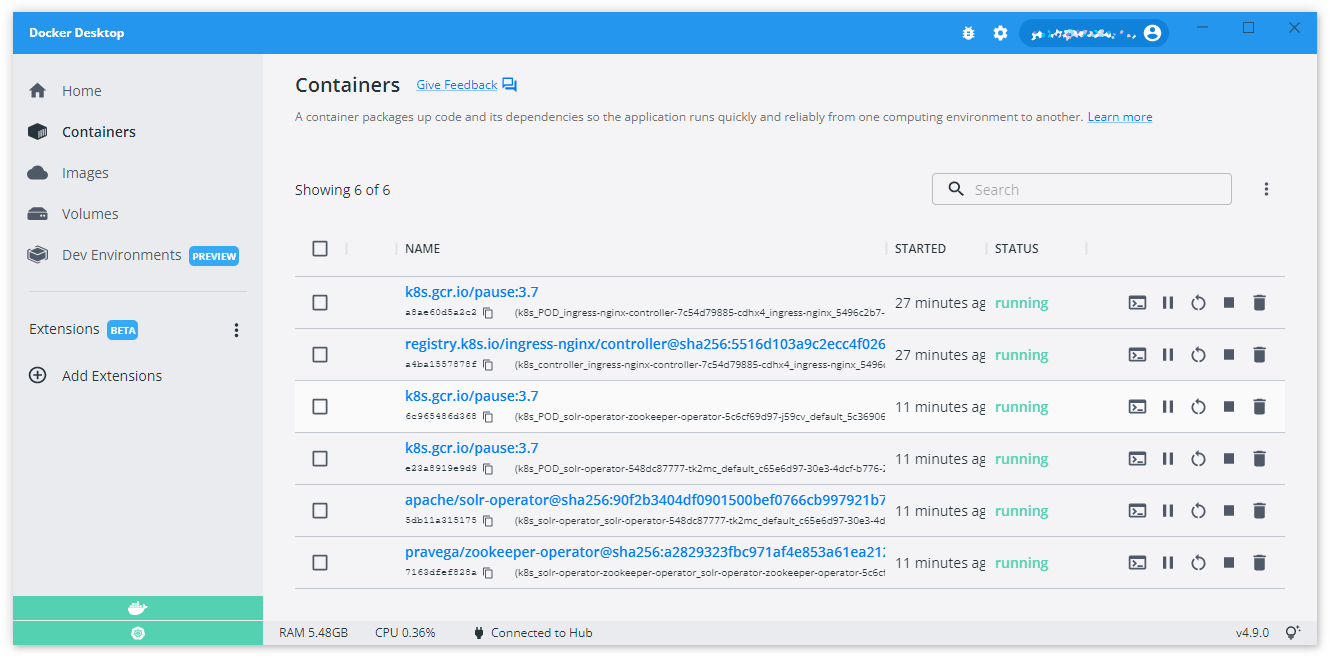
From the command line, they install themselves easily:
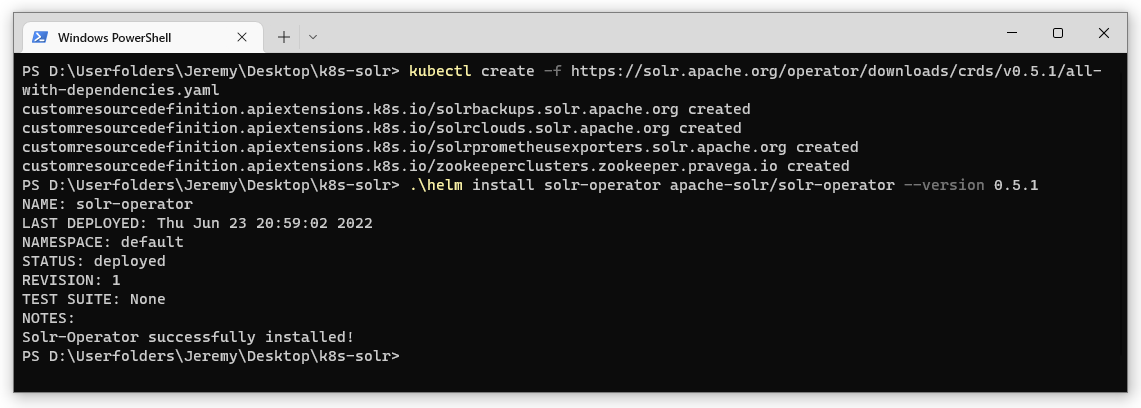
And once they're run, you can see the containers for Nginx, and the Operator containers for both Solr and Zookeeper:
url copied!
So once that's all in place, you're ready to fire up some Solr...
That's done by running the following
helm
command:
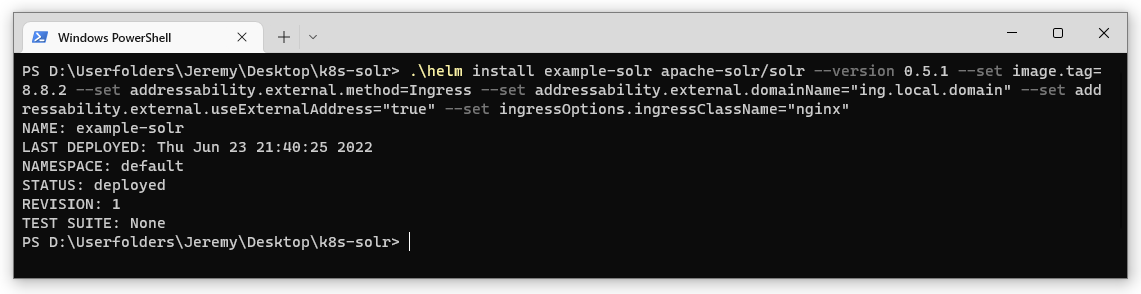
helm install example-solr apache-solr/solr --version 0.5.1
  --set image.tag=8.8.2
  --set addressability.external.method=Ingress
  --set addressability.external.domainName="ing.local.domain"
  --set addressability.external.useExternalAddress="true"
  --set ingressOptions.ingressClassName="nginx"
(This should all be on one line, but it's easier to read with some line breaks for clarity)
Breaking it down, it's telling Helm to
install
an SolrCloud instance named
example-solr
using the
apache-solr/solr
templates that got installed in the step 3 above. The
--version 0.5.1
is specifying what version of the Operator templates are being used (and that's the latest version as I write this).
And then the rest of the options are setting parameters for the install itself. This is where you can do most of the customisising of the setup to suit your needs. Each of these parameters gets prefixed with the
--set
command to tell Helm that you're providing a value for one of the custom settings.
The important one here for Sitecore users is the
image.tag
wich specifies the version tag for which Solr you want installed -
8.8.2
here is the right one for Sitecore 10. The other parameters give here are to do with how you access Solr via the ingress controller - but there are lots of options,
documented with the chart
and with some other explanations on the
Operator website.
So in a "real" deployment you need to do a bit of thinking about these settings, but the defaults above will work for a demo. But when you run it, you get some status info:
And you can check the status of the deployment as it proceeds using
kubectl get solrclouds -w
in order to wait for it to complete. Initially the "ReadyNodes" field will be smaller than the "DesiredNodes" one:

Note how because of those custom resources installed above "solrclouds" is a resource type you can
get
here - Operator has enhanced the behaviour of
kubectl
to make life easier. And once it's finished (which can take a while the first time) those two fields will match:

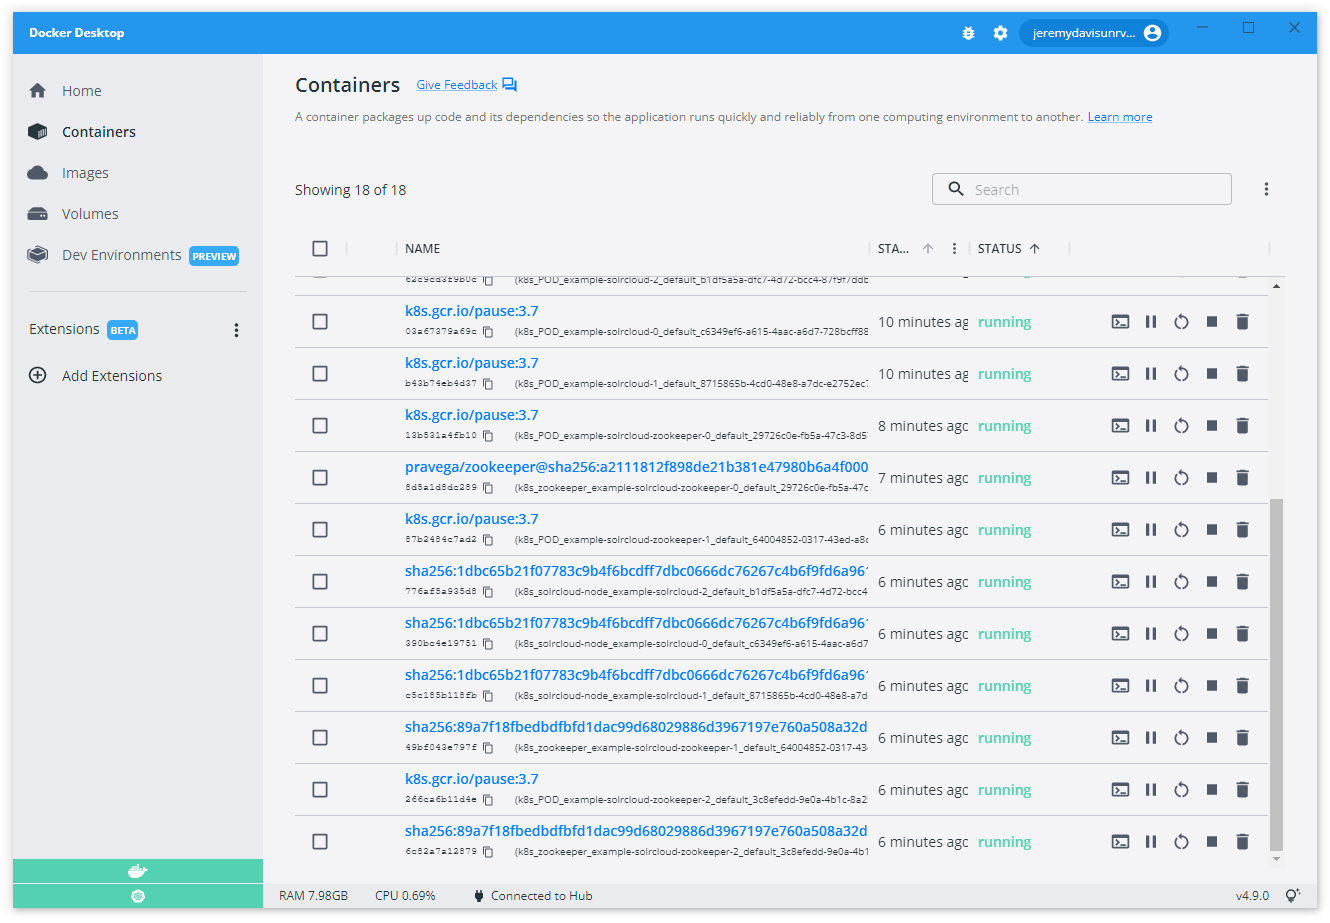
And you'll have lots of containers running - adding your three Zookeepers, three Solrs and other bits:
Now at this point you should be able to browse the Solr UI at the URL
http://default-example-solrcloud.ing.local.domain/solr/
but you may encounter an issue here...
If you get a 404 error from Nginx saying it can't see Solr, then you'll need to
make a small tweak to the settings for the ingress controller. You can run
kubectl edit ingress example-solrcloud-common
to get it to open an editor to modify the settings for your ingress controller resource. And you need to add this line into the file after the
annotations
line:
# Please edit the object below. Lines beginning with a '#' will be ignored,
# and an empty file will abort the edit. If an error occurs while saving this file will be
# reopened with the relevant failures.
#
apiVersion: networking.k8s.io/v1
kind: Ingress
metadata:
  annotations:
    kubernetes.io/ingress.class: nginx
    nginx.ingress.kubernetes.io/backend-protocol: HTTP
  creationTimestamp: "2022-06-23T20:40:25Z"
  generation: 1
  labels:
(Or you can make a patch file and use the
kubernetes patch
file to apply it, if you prefer a more automated approach)
And the save the file to update the settings. And that should fix the
404
issue, and you should get access to Solr:
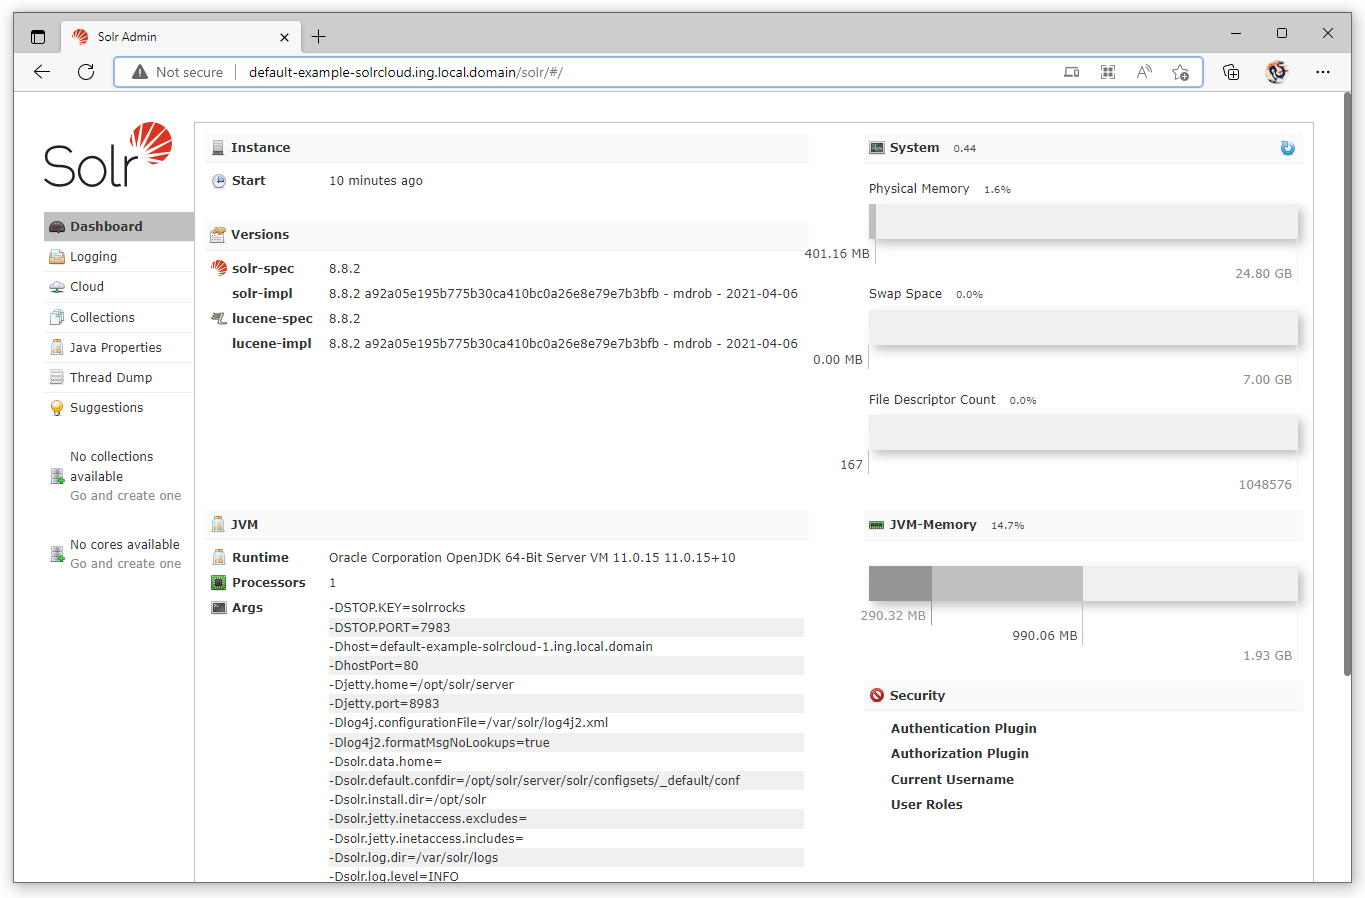
And now you have a nice target for a Sitecore SolrCloud init container to set up all your collections...
url copied!
From what the documentation says, these scripts are designed for creating production setups. But there are a few things you need to make sure you think about, and pass the appropriate setup parameters for:
Persistent storage
By default, any data that gets stored by a Kubernetes container is temporary. Anything that gets written to a container is lost if that container gets stopped and a new instance started. So if you need services in your cluster to have permenant data, you have to configure it. There seem to be two broad approaches here:
--set datastorage.type="persistent"
setting to enable it, and optionally
set things like max size, reclamation policy or the particular disk resource type to use. But this means you don't own the lifetime of the resources provided.PersistentVolume
resources for Solr to make claims against. But it should give you full control over the resources provisioned.TLS
Out of the box, the SolrCloud instance provided by Operator is only available on Port 80. Inside a network you control, you might consider that acceptable. But if you're exposing these services outside of your private network, or you're dealing with data that you want to be encrypted in transit then you will need to add TLS settings to your config.
There are multiple choices to configure here. You can set up TLS for the individual Solr and Zookeeper nodes, so that all the traffic inside and out of the Kubernetes cluster uses SSL.
Authentication
It's not common requirement for the sort of "private" Solr instance you run inside your network for Sitecore, but you might want to apply security to your SolrCloud instance. By default instances set up using Operator are anonymously accessible, but there are plenty of options for configuring security if you do need it.
url copied!
I think this is a really good addition to your infrastructure toolbox for Sitecore deployments. If you're choosing to run your own Solr in containers this is definitely the easiest setup approach I've discoverd so far. And since it's part of the Apache Foundation's projects you know it's going to do things right...
↑ Back to top
