
Jeremy Davis
Sitecore, C# and web development
When you have an entity that moves through a State Flow in Content Hub you may well want users to be able to see at a glance where things are in that flow. So here's one way you might set that up to give a nice visual representation in your listings for the entity:
 url copied!
When you apply a
State Flow
to an entity you do get a field which describes the state the entity is in. But when you look up the taxonomy that's referenced by the
<entity>ToActiveState
field you'll see lots of possible values that are duplicates - because there's one for every state of every entity that uses a flow:
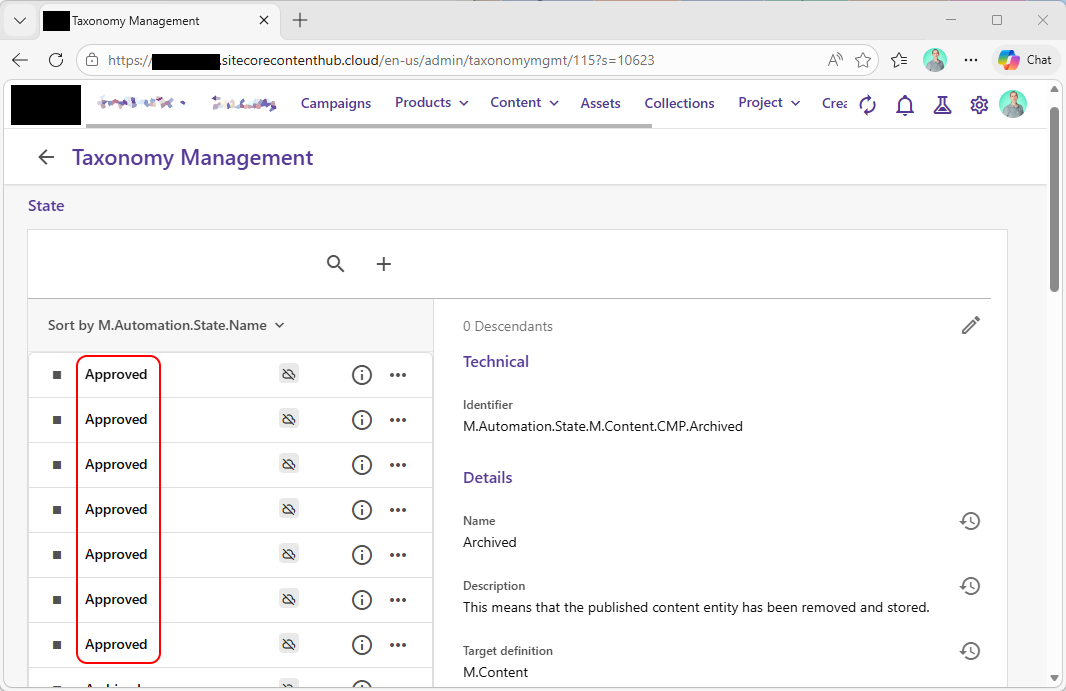
So you can use this taxonomy for what follows if you wish, but if you do you have to be careful when you're picking states to display. You'll have to make sure that you're picking the right values for the specific entity/flow you're displaying. And that's not always easy to to with the simple pickers we'll see later.
Because of that you may wish to create a custom taxonomy just for the display of your state - so that it's easier to pick the right thing. This can be shared across a bunch of entities if you need to. But it doesn't need to duplicate the state names for each one - which may make your life easier.
If you do go down the "custom state" route you'll need to ensure that your state flow keeps the field for this state up to date as the entities move through the flow. Configuring that involves doing two things:
First, you have to tell the State Flow you create that there is a field on your state-flowing-entity that can be updated as part of the flow. And second you have to configure states in your flow to update this to the correct value.
To tell the state flow about your field, you need to go to the schema definition for the entity in your flow. When you're using the "Enable/Disable" menu to set up state flows, the dialog has a "fields" section:
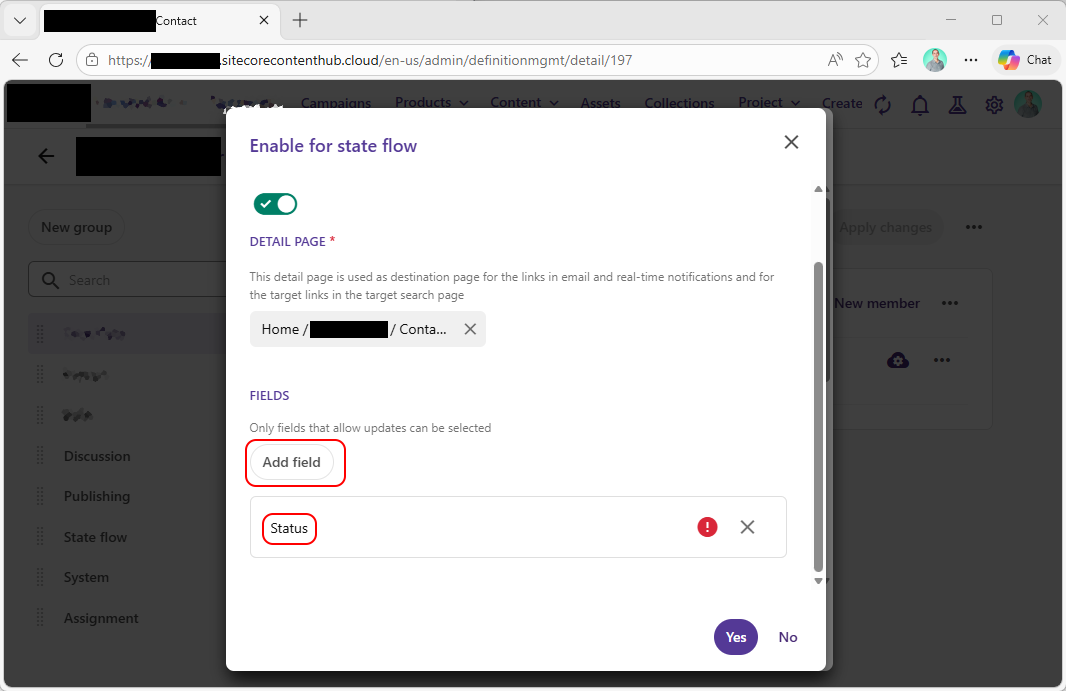
Here you can use the "Add field" button to specify any field on your entity - so pick out the right one that you want to be able to update, and save your changes.
With that done, when you look at the definition for a state in your flow you'll now see an "Update <field>" option:
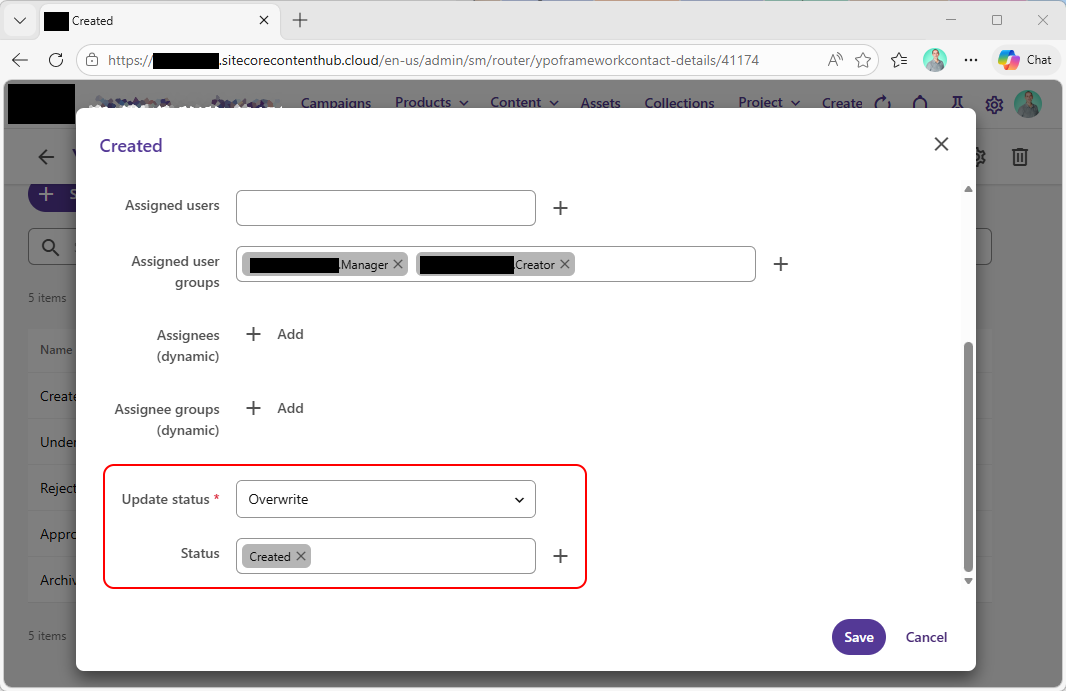
For this sort of "change the field to a specific value when the state is entered" scenario you probably want to pick "Overwrite" for the operation type here, and then you need to pick the correct value for your field from the following select box (named after your field).
Repeat this second step for each of your flow's states, so that each one knows what your custom field should be set to for that particular flow state.
url copied!
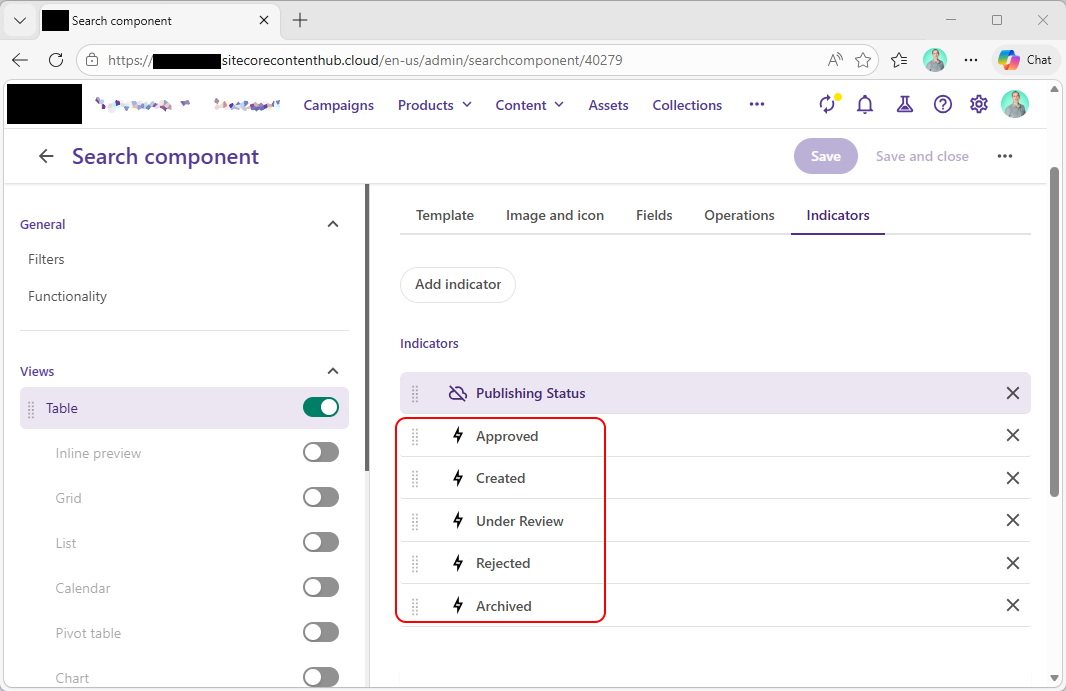
Now that we've picked the field that holds the state to display, we need to configure the entity listing in a way that makes it easy to see. This can be configured on your search component(s) using the "Indicators" tab in the Table (or similar) view. When you add an indicator you can pick the "Custom" type from the "Add Indicator" button, and configure it to display a state of the flow:
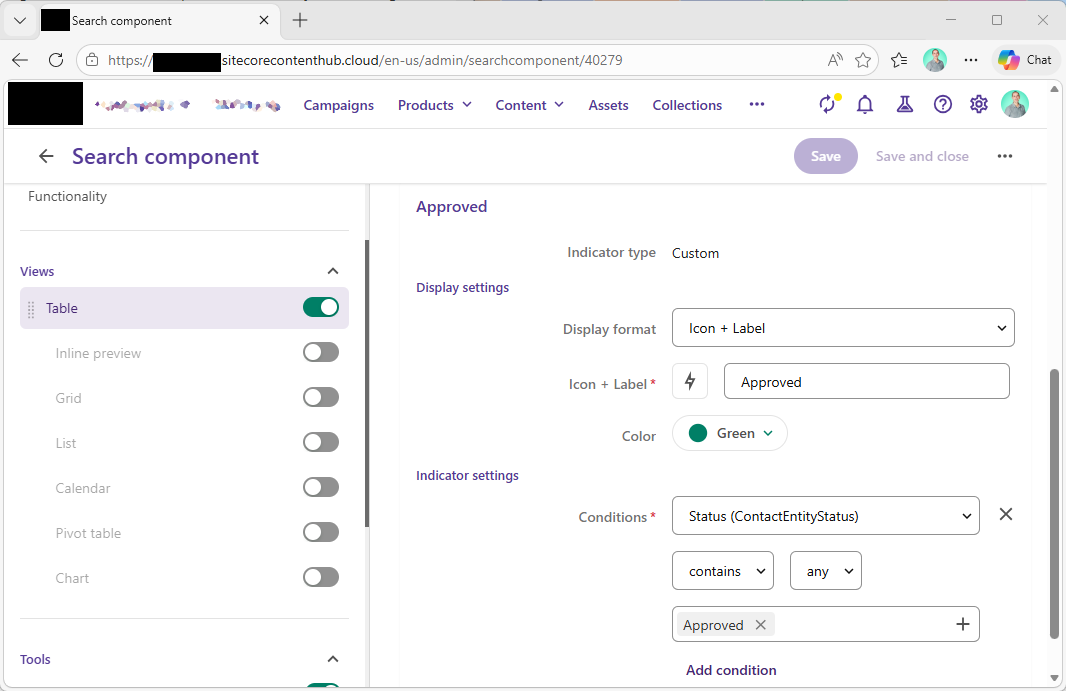
You need to pick the styling of your indicator under the "Display Settings" heading. Picking a different colour (or icon) for each of your states here will help make the visual representation easy to understand at a glance.
And you need to tell the system when this particular indicator should be displayed by using "Add condition" to configure a display rule. This expression will be "<your field> contains <the correct state>". You can then create one of these indicators for each state in your flow:
With that in place you'll see the appropriate indicator on each of your entities as it moves through the state flow:
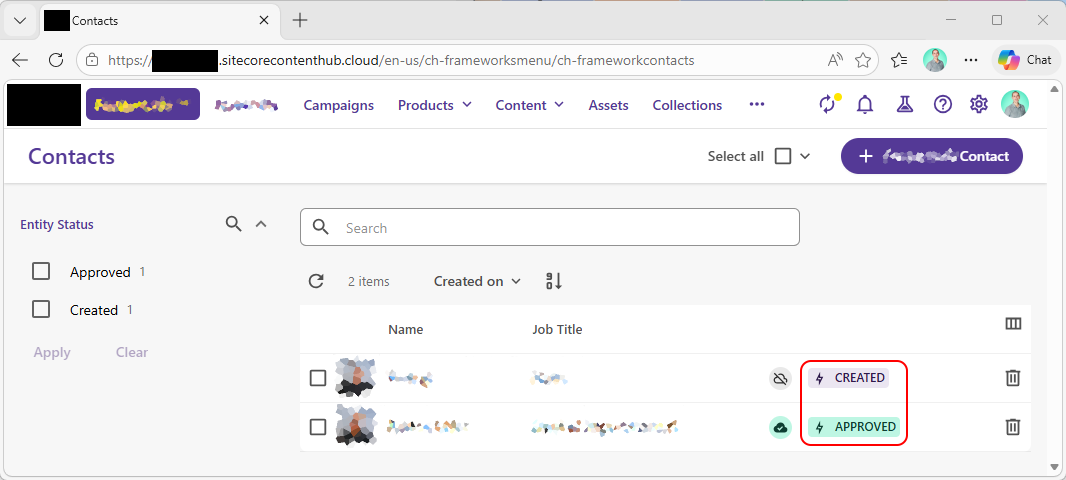
And users can tell at a glance what state any entity is in.
↑ Back to top
