
Jeremy Davis
Sitecore, C# and web development
One of the minor annoyances of some XM releases of Sitecore is that rather than just disabling analytics and not running xConnect, they do not include the DLLs necessary for personalisation at all. That can be a bit of a pain sometimes – as I discovered recently when I tried to deploy some client code into an XM docker container. The site broke because the client code included references to a personalisation DLL – which made me realise I actually wanted an "XP in XM mode" container so I didn't need to bother with the memory and CPU for xConnect. So here's how I hacked one up...
The starting point for my hackery was having an XP v9.2 CM image. You can build one using the standard docker repo scripts using:
.\Build.ps1 -SitecoreUsername <your user> -SitecorePassword <your password>
            -SitecoreVersion '9.2.0' -Topology XP
            -IncludeSpe -WindowsVersion 1903
(Note the improved filtering here, compared to my previous comments – the community moves quickly to fix these issues...)
This generates all the relevant images. And you can use the "standalone" CM one as the basis for a new image. Docker works on the basis of "layers" – when you build a new image you can describe it in terms of the difference between an existing one, and what you want it to be. You describe the changes in your own "Dockerfile" – text instructions to tell the Docker engine what it should do to make your new image.
Configuring an instance of Sitecore to ignore analytics can be done with a config patch:
<configuration xmlns:patch="http://www.sitecore.net/xmlconfig/" xmlns:set="http://www.sitecore.net/xmlconfig/set/"  xmlns:role="http://www.sitecore.net/xmlconfig/role/">
    <sitecore>
        <settings>
            <setting name="Xdb.Enabled" set:value="false" />
            <setting name="Xdb.Tracking.Enabled" set:value="false" />
        </settings>
    </sitecore>
</configuration>
A trivial change, yes – but it was all I needed to get started and prove I could make this work. So the difference between our base image and our new one is the presence of that file in the
/App_Config/Include
folder. Hence we need our Dockerfile to do that for us:
FROM sitecore-xp-standalone:9.2.0-windowsservercore-1903

COPY .\\config\\zDisable-Analytics.config C:\\inetpub\\wwwroot\\App_Config\\Include
The
FROM
command tells Docker what base image to start with. And the
COPY
command takes a file from the physical computer and puts into in the specified folder in the container. You can add in whatever extra files you need here. Other config that's specific to your setup in Docker, dependencies that your solution has, or tools like the TDS endpoint, for example...
Make yourself a folder to keep your new setup files. (You'd probably add this to source control – either in your dev project or in a repo for docker image builds. You're probably going to want this file again in the future) Save the text above as
Dockerfile
(no extension) in the folder and put the analytics disabling config file into the
.\config
folder alongside the Dockerfile. And then you can ask Docker to build the image with:
docker build -t sitecore-xpxm-standalone:9.2.0-windowsservercore-1903 .
The
-t
parameter specifies the tag to save the image under, and
.
says "use the
Dockerfile
in the current folder". And the result of that is:
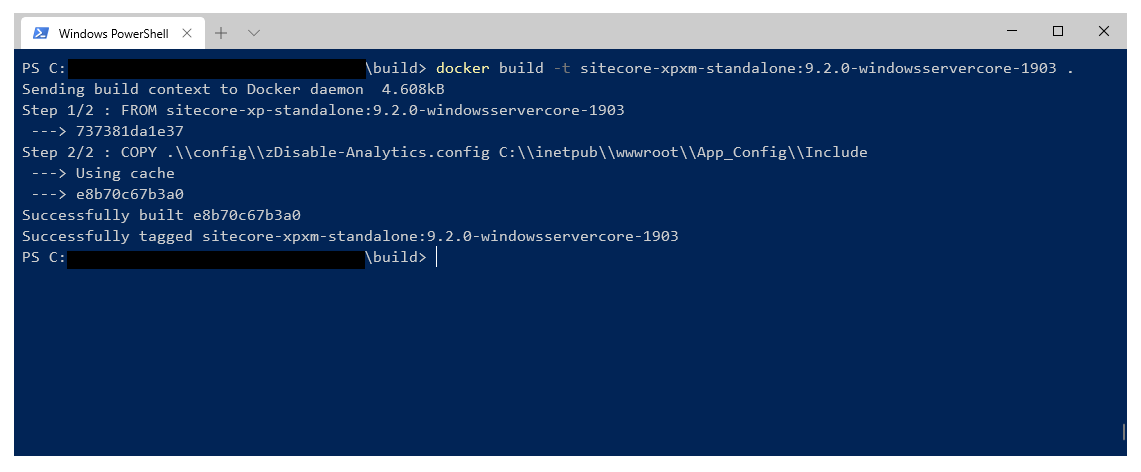
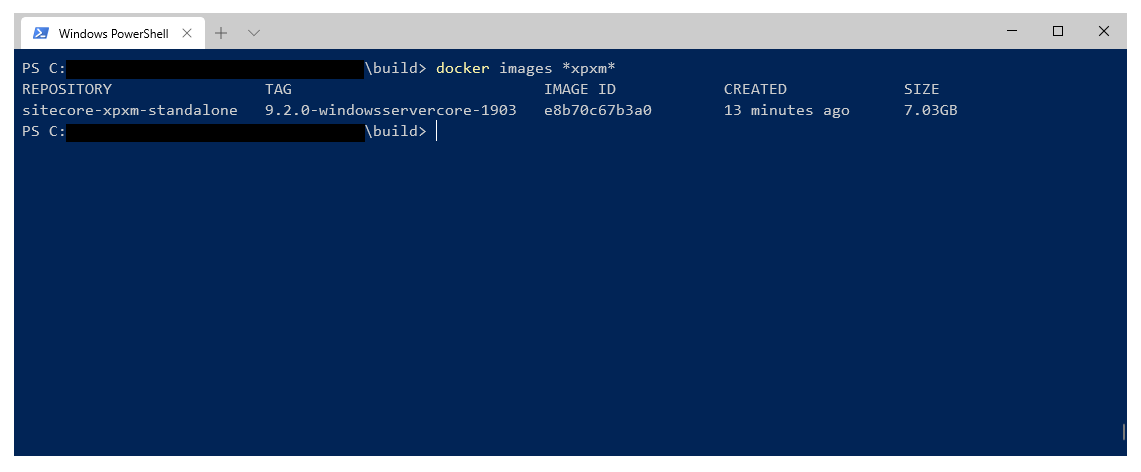
Which leaves us with a new image on disk:
So now you have an image, you need to be able to fire it up and work with it. That involves modifying the default "Docker compose" file for the original XP instance. For the 9.2 setup I was working with, I started from
9.2.x/docker-compose.xp.spe.yml
taken from the official repo. Since we're not wanting to start up xConnect the instructions for those containers (xconnect, xconnect-automationengine, xconnect-indexworker and xconnect-processingengine) can be removed. (I also removed the CD instance, as I wasn't using that) You also need to remove
xconnect
from the
links
segment of your CM role config, because it doesn't depend on analytics now. Finally, the instructions for starting the cm instance can be changed to use our newly generated image:
version: '2.4'

services:

  sql:
    image: ${REGISTRY}sitecore-xp-spe-sqldev:${SITECORE_VERSION}-windowsservercore-${WINDOWSSERVERCORE_VERSION}
    volumes:
      - .\data\sql:C:\Data
    mem_limit: 2GB
    ports:
      - "44010:1433"

  solr:
    image: ${REGISTRY}sitecore-xp-solr:${SITECORE_VERSION}-nanoserver-${NANOSERVER_VERSION}
    volumes:
      - .\data\solr:C:\Data
    mem_limit: 1GB
    ports:
      - "44011:8983"

  cm:
    image: ${REGISTRY}sitecore-xpxm-standalone:9.2.0-windowsservercore-${WINDOWSSERVERCORE_VERSION}
    entrypoint: powershell.exe -Command "& C:\\tools\\entrypoints\\iis\\Development.ps1 -WatchDirectoryParameters @{ Path = 'C:\\src'; Destination = 'C:\\inetpub\\wwwroot'; ExcludeFiles = @(); }"
    volumes:
      - ${LICENSE_PATH}:C:\license
      - .\data\cm:C:\inetpub\wwwroot\App_Data\logs
    ports:
      - "44001:80"
    links:
      - sql
      - solr
And running
docker-compose up
on that file will start up Sitecore, without any xConnect – but with all the DLLs for personalisation in place:
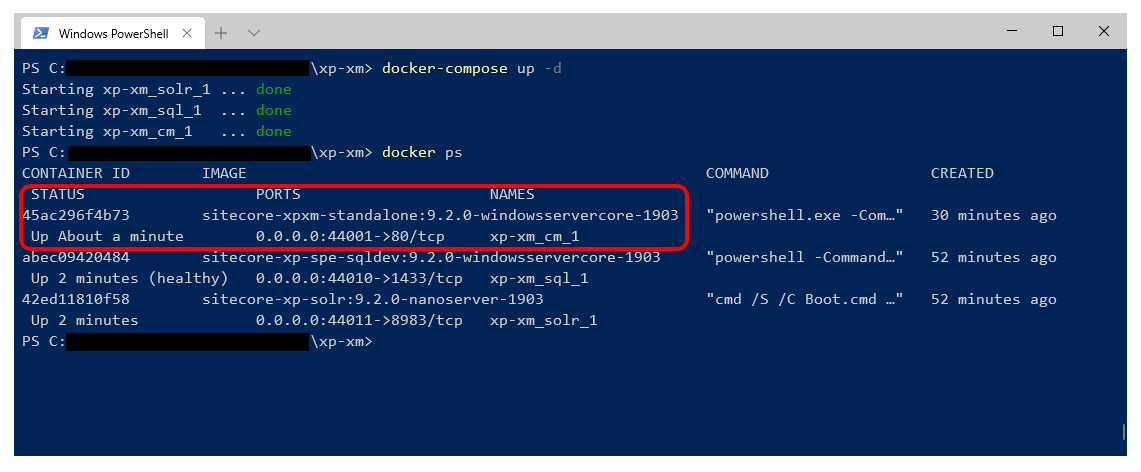
Success!
↑ Back to top
